Managing Agents
Once you have set up uWebChat, you might want other users in your tenant to start using uWebChat as well. This chapter will explain how to register new agents and how to manage them.
Installing uWebChat for additional agents
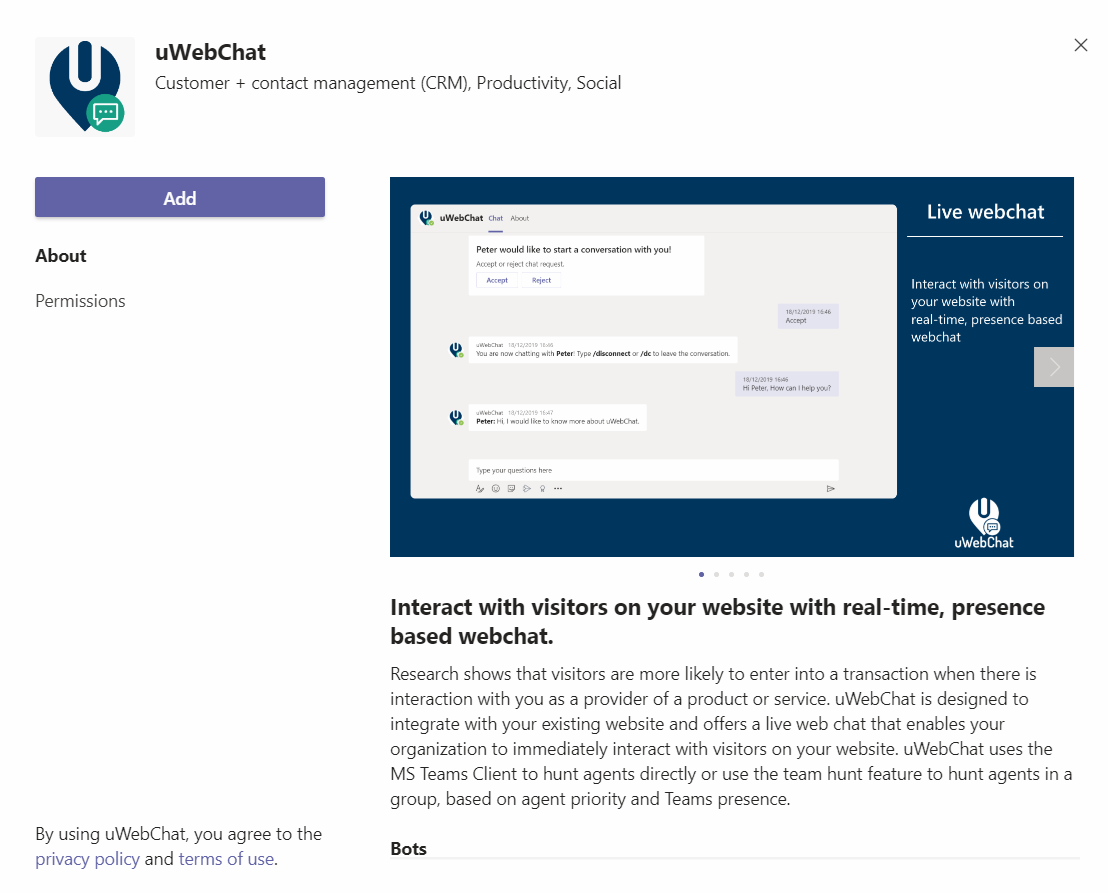
Once you have setup your initial uWebChat tenant, other agents can be added to use uWebChat. First, they must install uWebChat inside either their Teams desktop client, or within the web client of Teams.
uWebChat can be installer per user by simply opening Teams, clicking on the ellipsis (…) button on the left side and searching for uWebChat.
From there, they can click on the uWebChat button and then clicking Add.
Once uWebChat has been added, it may be useful for the agent to pin the uWebChat application to the left bar of Teams, so that it is always available. Simply right-click on the uWebChat icon on the left bar and select the Pin option. If your users are unable to add uWebChat to their Teams, this might be related to a permission issue on your Microsoft 365 tenant. By default, all users can add applications to their Teams client. If you or your IT team have setup limited permissions for installing apps, it may be required to whitelist uWebChat. This can be done from the Teams Admin Center by an administrator that has either the Teams Admin or Global Admin role. See this Microsoft article for more details:” https://docs.microsoft.com/en-us/microsoftteams/admin-settings
Register other agents
To register new agents in uWebChat, the Teams user you want to add needs to start a conversation with uWebChat. This will initiate a registration dialog the user needs to complete.
Please note: the user you want to add needs to be a user in your Teams tenant.
After the user has registered himself as an agent in uWebChat, the admin agent will receive a message as shown in the image below.
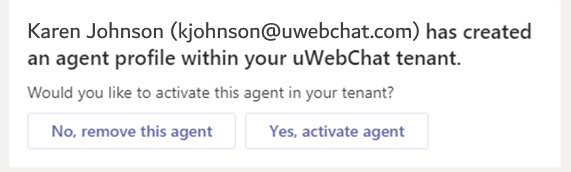
The admin can choose to activate the agent or remove its registration from uWebChat. If the admin chooses to activate the agent, the agent will have access to uWebChat.
Admin agents can activate and remove agents at any time by using the** Activate Agent** and **Remove Agent **commands.
Managing agents
There are four commands that are designed to manage the agents in your uWebChat tenant:
- Show me all agents – This shows all the agents in your uWebChat tenant, whether they are active or not.
- Activate agent – Guides you through activating an agent.
- Remove agent – Guides you through removing an agent.
- Manage privileges - This allows you to manage the privilegs and rights your agents have.
- Grant administrator - Guides you through granting administrative privileges to an agent.
- Revoke administrator - Guides you through revoking administrative privileges from an agent.
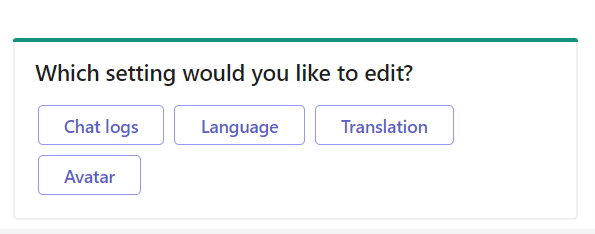
Agent personal settings
Every agent has personal settings which the agent can manage by themselves. An agent can change three options:
- Chat logs – Allows the agent to enable or disable the saving of chat logs to OneDrive
- Language – Allows the agent to select a primary language. When website users talk to the agent in a language different than the set primary language, the agent will see the messages translated to their set primary language.
- Translation – Enable or disable the use of real time translation.
- Avatar – Enable or disable the use of an avatar being visible to your website visitors. This will use the avatar you have setup in your Microsoft 365 account.
The agent can use the command My Settings or Settings to change these options.